
Coursera: Web Application Technologies and Django
[Started on March 2025]
https://www.youtube.com/watch?v=ZsEu-jyy2qY
1. Getting Started
DjangoをPythonAnywhereにinstallしてみます。Djangoは、jangoと読むらしいです。Python Web appのframeworkです。PythonAnywhereは、awsみたいなものらしいです。DjangoをPythonAnywhereにinstallして、Web applicationをそこに作れば、誰でもaccessできるweb pageで、かつ、pythonで動くものが作れるらしいです。
すべては、「らしい」になってしまいますが、ひとまずやってみます。
2. https://www.dj4e.com/assn/dj4e_install.md
具体的には、このサイトの手順に従って、やっていきます。
Before you start this assignment, you should already have signed up for a PythonAnywhere account and be logged in on your account.
とうわけで、PythonAnywhere accountにsign upします。Beginner Accountを作ります。

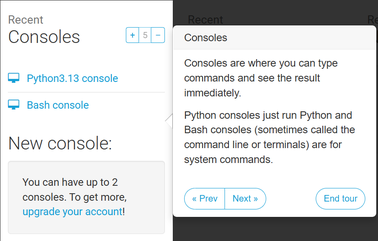
Sing upして、mailに来たconfirmationをクリックしたら、次のようなwindowが出てきました。

試しにBashを押してみたら、Bash consoleが出ました。

これで大丈夫かなぁと思いつつ、left arrowを押したら、もとのtourのwindowに戻りました。ついでに、Pythonのボタンを押してみたら、Python interpreterが出ました。

また、left arrowを押して、tour windowに戻ります。すると、tour windowにtwo consolesまでしか持てないとの表示が出ました。
Next buttonを押して次へ行きます。Filesについての記載が出ました。
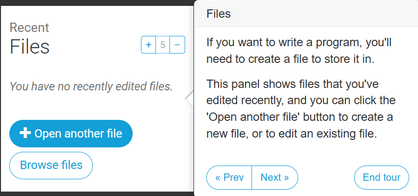
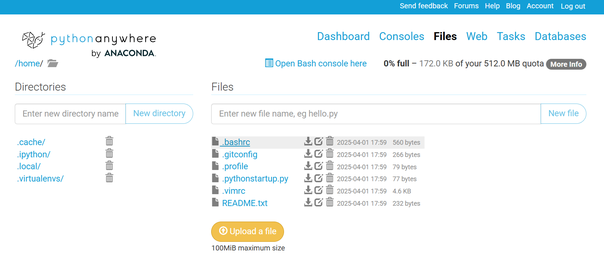
これによれば、filesに新規作成は、Open another fileボタン、existing fileの修正は、Browse filesボタンを押すとのことです。Browse filesを押したら、自分用のcloud上のfilesとfoldersの表示画面になりました。
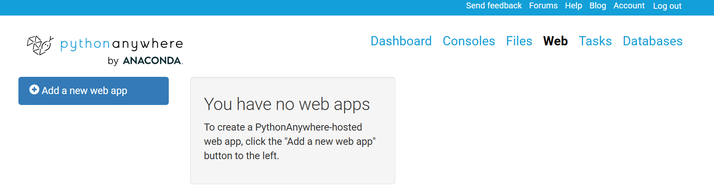
また、left arrowを押して、もとのtour windowに戻ります。Next buttonを押します。Web appsに関する記載が出ました。

これも、Open Web tabを押してみます。You have no web appsという表示が出ました。
また、left arrowで、もとのtour windowに戻ります。Next buttonを押します。Jupyter Notebooksを使いたかったら、paid accountを作れとの表示です。

Next buttonを押します。The tabsの説明が出ました。
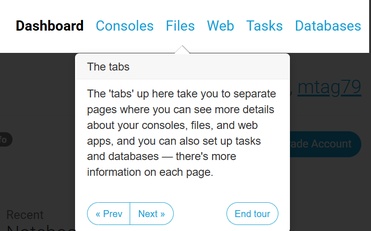
Next buttonを押します。その他の情報が出ました。
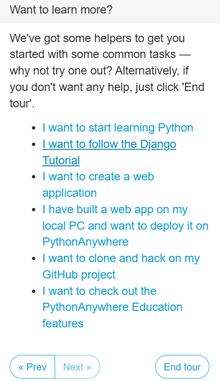
試しに、I have built a web app on my local PC and want to deploy it on PythonAnywhereを押してみました。

deployする方法の説明等の画面に変わりました。left arrowでもとのtour windowに戻ります。しかし、戻りませんでした。多分、tourも終わりなのだろうと考え、Clolse this tutorialボタンを押しました。が、画面が相変わらずdashboardのままでした。
ひとまず、accountのsign upは完了したようのなので、いったんlog outします。
次は、Part 2です。